
Staff and students at Teesside University have access to Microsoft OneDrive, a cloud storage service. As well as being able to store and share files, OneDrive allows users to edit Microsoft Office files in a web browser using Office Online and then embed them for use somewhere else online. Microsoft Office files stored on OneDrive can be embedded in a number of different online tools such as blogs.tees, Blackboard or anywhere else that supports embedding using something called an IFrame.
For example, you might currently use the same PowerPoint presentation in 3 different Blackboard modules. This means that you’ll most probably upload a separate copy of it to each module on Blackboard, if you want to make a change to the presentation you need to edit it and then upload it back to the 3 modules on Blackboard.
But what if you could make a change to the presentation and without you having to do anything else you could see those changes reflected across the 3 modules on Blackboard? With OneDrive and Office Online you can do that!
OneDrive
First of all, the file that you want to embed needs to be saved in OneDrive.
- Access OneDrive by going to https://onedrive.live.com
Staff and Students at Teesside University get 1TB (1000GB) of storage space on OneDrive. - Click Sign in in the top right corner of the page and enter your Teesside University email address. If you’re on campus you’ll be logged in automatically, if you’re off campus continue to enter your password.
- You’ll see your OneDrive storage space and you might see some files already listed.
- It’s good practice to keep all of the files you want to share and embed in a separate folder, this way you know that all of the files you’ve embedded somewhere are organised for you to manage in one place.
- Using the links at the top of the page choose New > Folder and enter a name such as Shared Files.
- Once you’ve create the folder you’ll see it in your list of files, click on it to go inside the folder.
- You can upload files to OneDrive in two ways, you can either drag and drop them onto the browser window and they’ll be uploaded into the folder you’re in on OneDrive or you can choose Upload > Files at the top of the page and select the file(s) you would like to upload.
- Once you’ve uploaded at least one Microsoft Office file to your new Shared Files folder, you’ll see something like this:
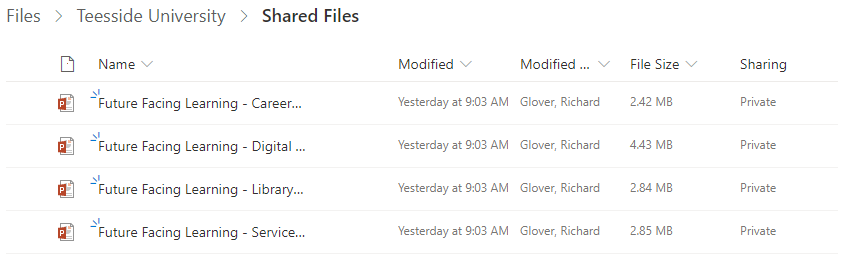
You can manage your files by clicking on one or more of them. Download, Delete, Copy and Move options will then appear at the top of the page.
Managing Access
Files stored on OneDrive are private by default and only you can access them. Because we’re going to embed them on Blackboard, we need to tell OneDrive that we would like other people at Teesside University to be able to access them. We can even tell OneDrive what kind of access rights we would like to give, for example we can keep the files read only so that people can only view the information inside the file, or we can make the file writable, so that people can make changes to the file.
In this example, we will change the access permissions on the whole Shared Files folder so that instead of it being private it’s available to anyone at Teesside University, but read only, they won’t be able to make any changes to it or the files inside it.
You’ll also notice that some of the language used could make it sound like we’re giving everyone at the University access to your files, we’re not. Only the people you share the files with will be able to access them, so for example if you embed a file in a Blackboard module, only students at the University will be able to access it. No one will be able to list or view the files until you embed somewhere or share them with them via email.
- In OneDrive navigate out of the Shared Files folder using the breadcrumb navigation at the top of the page, you’ll see something like this:
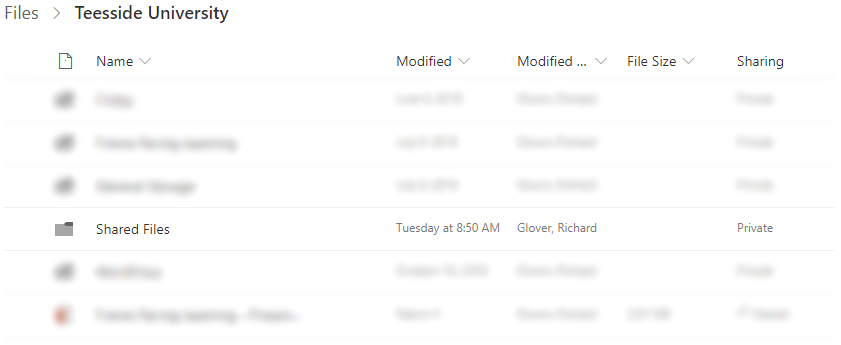
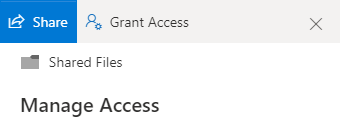
- Find your Shared Files folder in the list, from the Sharing column click on the word Private and then select Grant Access from the panel that appears on the right of the page.
- When the Grant Access box appears you’ll see a prompt to Enter a name or email address, enter the following: Everyone except external users
- As you start to type Everyone except external users you’ll notice that OneDrive will start to automatically suggest the group name. Confirm the suggestion by clicking on it.
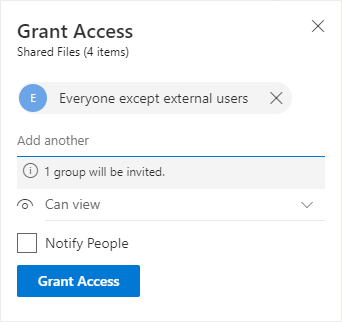
- IMPORTANT: Change the Can Edit option to Can View and un-tick the Notify People check box.
- Select Grant Access.
Office Online
In this example we’ll be embedding a PowerPoint file into a Blackboard module, but the same steps could be used to embed a Word document or an Excel file.
- In OneDrive, go into your Shared Files folder and click on the name of the file you want to embed in Blackboard. This should launch Office Online, if it doesn’t, click on the file and choose Open > Open in PowerPoint Online from the top of the page.
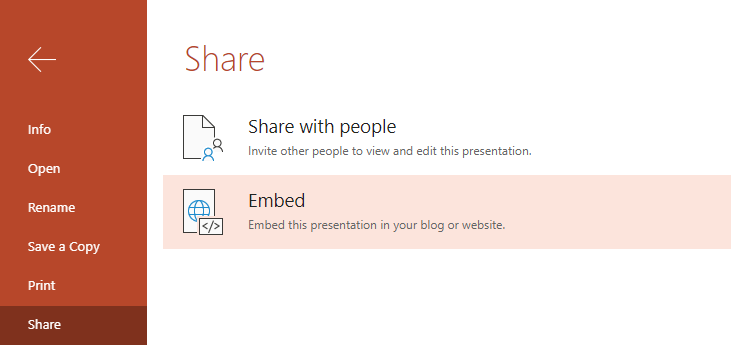
- From the ribbon at the top of the page, choose File > Share > Embed.
- An Embed window will appear, in the Dimensions settings choose 962 x 565 to set that dimensions that your embedded file will be displayed at.
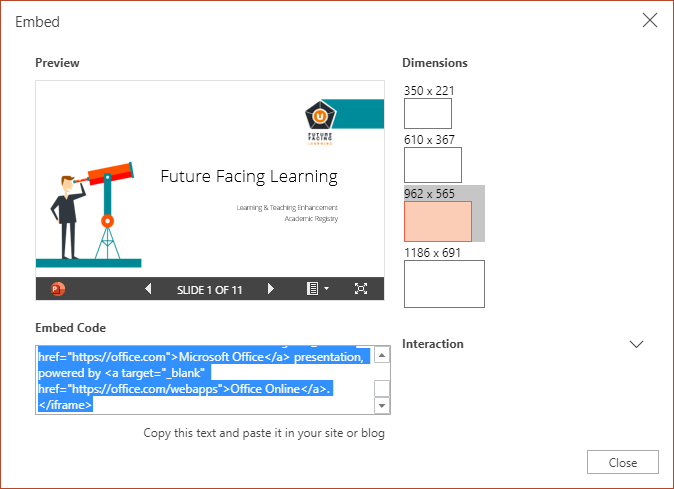
- Select and copy the text in the Embed Code section.
Blackboard
The final step is to create an item in Blackboard using the Embed Code you just copied, the file that you’re embedding will appear in the module and allow students to also Download a copy for themselves or Print to PDF.
- Go to a Content Area within the module on Blackboard where you would like to embed the file, Learning Materials for example. It’s good practice to organise content on Blackboard inside folders, you might already organise content by week or by subject.
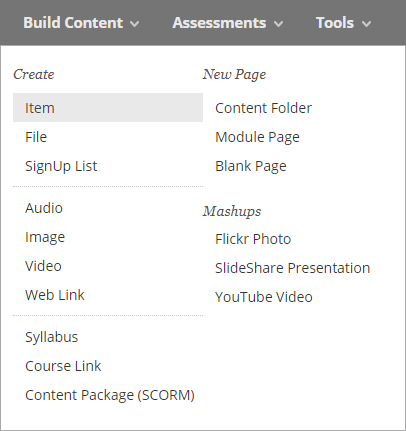
- When you’re inside the Content Area that you would like to embed the file in choose Build Content > Item.
- Enter a Name for your new Content Item and then click the HTML icon on the third row of the toolbar.
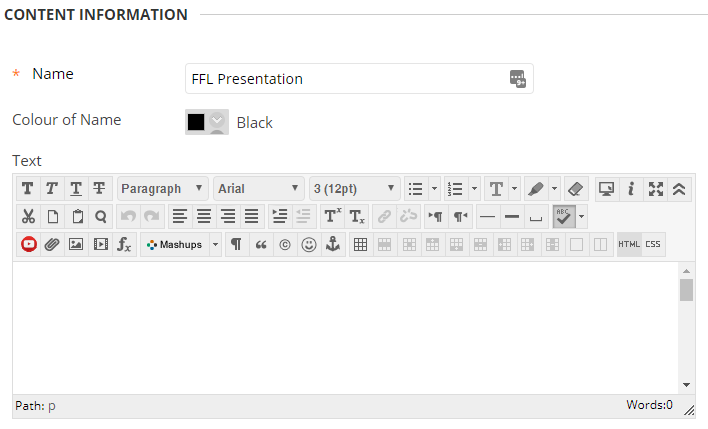
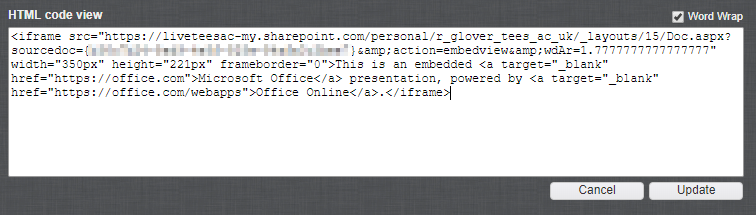
If you can’t see the HTML icon, click the chevron arrow icon at the far right of the top row of icons. - In the HTML Code View window that appears, paste the Embed Code that you copied earlier and click the Update button
- You’ll then be returned to the Create Item page in Blackboard and a yellow placeholder box will appear in the text editor.
- Click Submit.
- You should now see an embedded version of the file displayed in the Blackboard module.

Users can click on the slides to move between them. By clicking on the Menu icon in the bottom right of the embedded file users can also Download a copy of the original file or Print to PDF.
That’s it, you’ve done it! You can use the embed code in as many modules as you want, and if you edit the file on OneDrive using the Office Online tools your changes will automatically be reflected in the modules you’ve embedded the file in. No more uploading edited files to multiple modules and files stored in OneDrive don’t count towards your Blackboard module quota!
Some important things to be aware of
- Because we shared the files in OneDrive with Everyone except external users, when your students go to a Blackboard module with embedded files they will have to “Sign In”. This just lets the system know that they are a valid Teesside University user, they will only have to sign in once every 30 days.
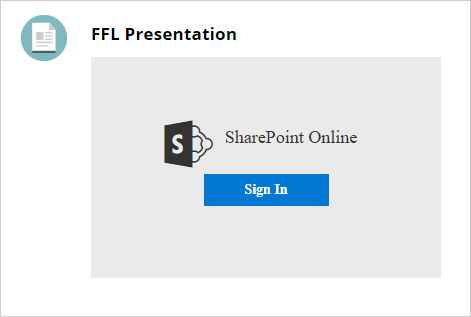
Click Sign In and log in with your Teesside University email address and password. - If you want to stop sharing either an individual file or the entire Shared Files folder you can go back to the Grant Access settings for a file or folder. In the Direct Access section of the panel, click the drop down arrow next to the Everyone except external users group and change the setting to Stop sharing. This will immediately stop users from accessing the files everywhere you have embedded them.
