Jetpack is a plugin for WordPress that adds a number of features you might find useful for your blog. These include Statistics, Social Sharing, Shortcodes and extra widgets, for more information on all of the features, click here.
To enable Jetpack on your blog do the following:
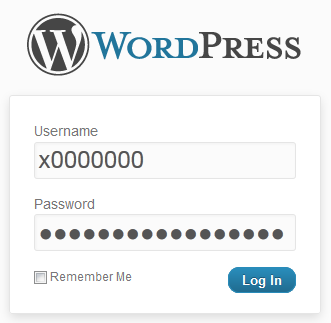
- If you are not already logged into your blog, click the ‘log in’ link from the main page of blogs.tees.

- Enter your username and password then click ‘Log In’

- On your blog Dashboard you’ll see a banner for Jetpack, click the ‘Learn More’ icon.

- Click the ‘Connect to WordPress.com’ icon.

- If you already have a WordPress.com account enter your username and password here, click ‘Authorize Jetpack’ and skip to step 9. If you don’t, click the ‘Need an account?’ link on the left.

- On the next page your email address should already be entered, choose a username and enter a password. Click the ‘Sign up’ button.
- WordPress.com will now send you an email, once received click the ‘Activate Account’ link contained within it which will take you back to the account signup process.

- Click the ‘Authorize Jetpack’ icon.

- You should now see the ‘Connected to WordPress.com’ message on the top banner, you can now activate or configure Jetpack features. For more information on these visit the Jetpack ‘About‘ page.

